As you may have guessed by now, I love vintage hand tools. If I come across a car boot sale or an antique shop I can’t help myself, I must go have a rummage to see what I can find. And recently I struck lucky, finding a shop with loads of random old hand tools lying about. I bought enough tools to see me doing tool restoration for months!
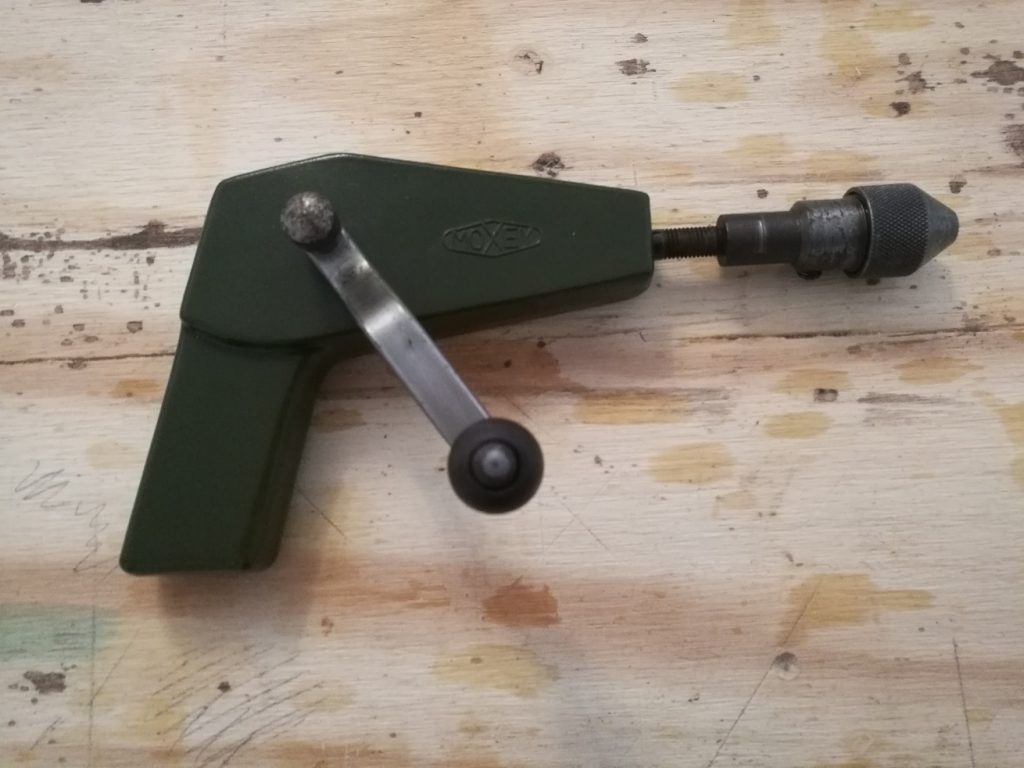
First on the pile was a random hand drill:
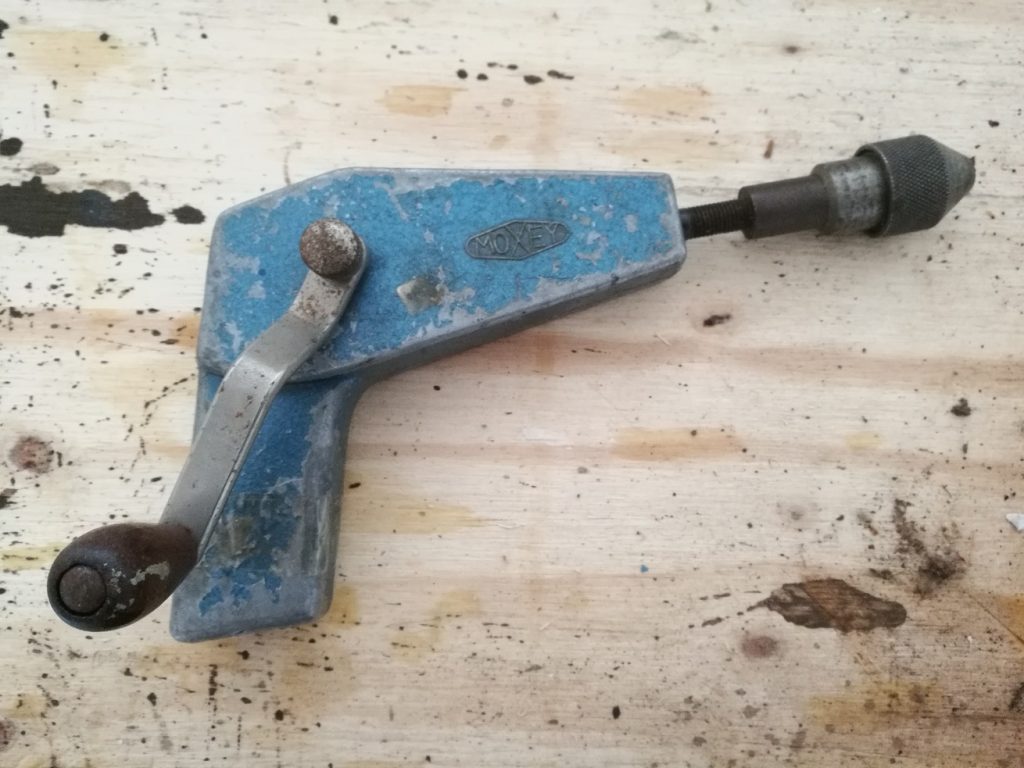
It was branded Moxey, who I had never heard of. An internet search also came up blank, with the exception of a couple of examples for sale. The person who sold it to me said it may have been an aircraft rivet drill.
The drill itself was in decent condition except for two things. First of all the paint was in very poor condition and it had a large blob of something solid on the back of it:

The second minor issue was that it didn’t turn! I stripped it down to see what the problem was:
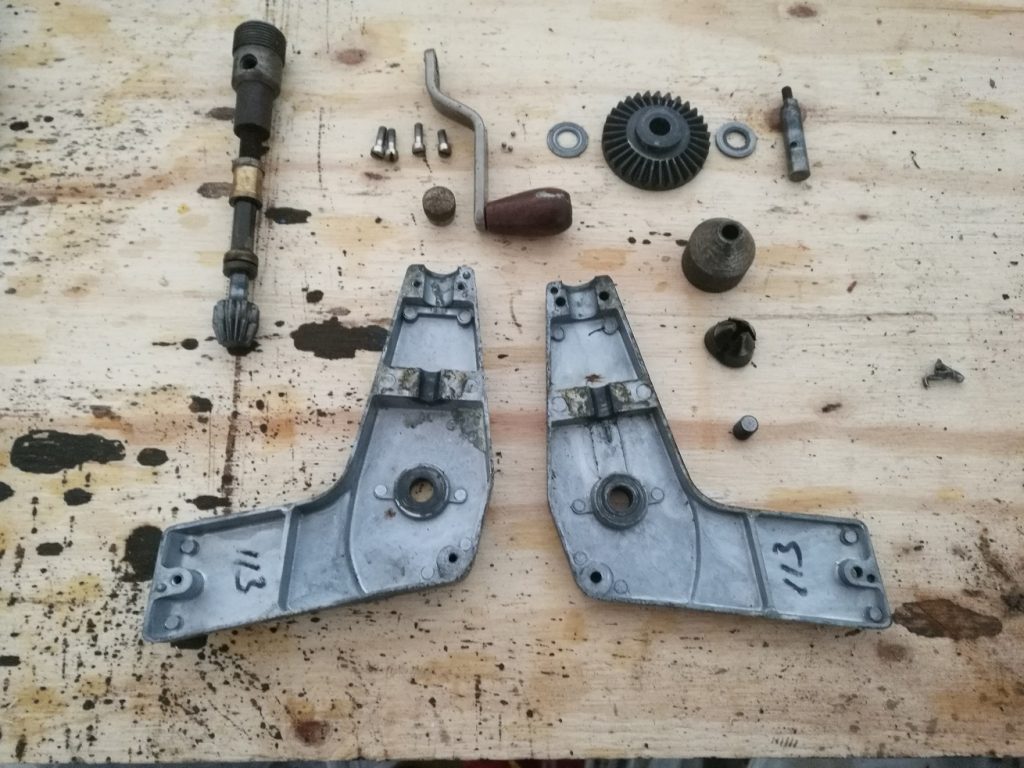
If you look at the above picture you will see a pile of broken metal bits on the right side. This was a split pin that joined the main gear to the handle. This was the reason why it didn’t work, and would be an easy repair. Happy that I could get it up and running again, the next job was to give everything a thorough clean and degrease:
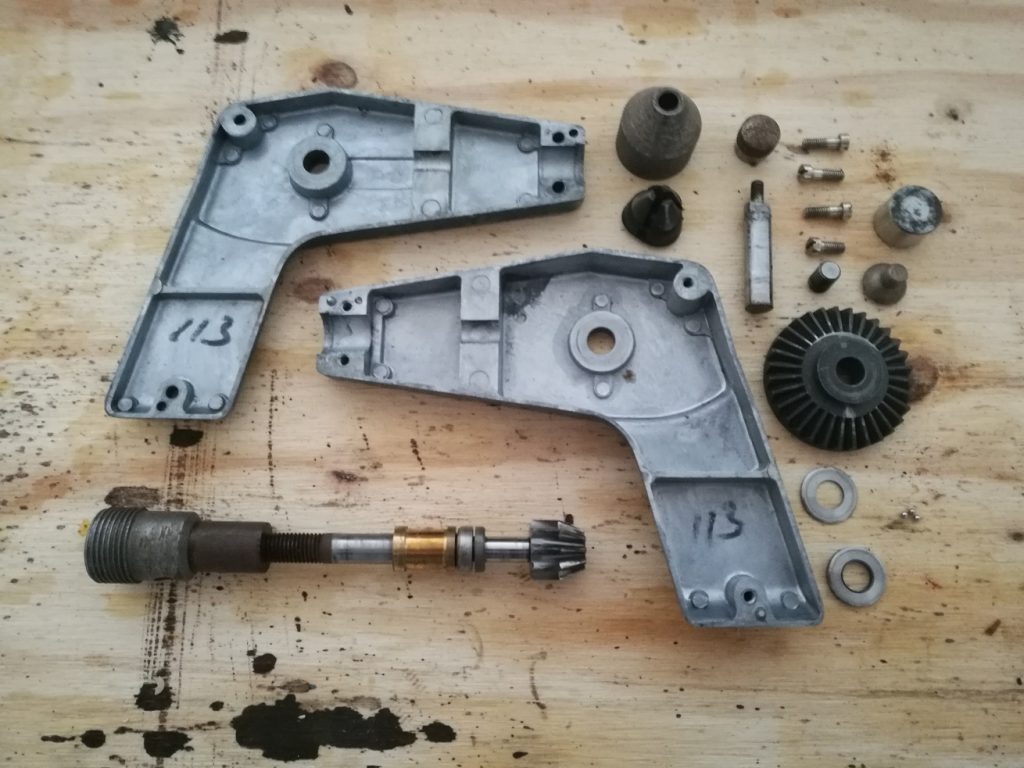
I noticed a few things whilst I was cleaning all of the parts. The first thing I noticed was the unique (to my knowledge) way of holding the jaws in place. In most chucks the jaws are held in place by springs or a mechanical mechanism, but here they were bonded to a rubber diaphragm that held them together in the right position. It is a cheap, lightweight and effective solution. The rubber diaphragm itself sat on a solid section of round steel, which then sat on a strange metal plate shaped like a baby’s dummy that fitted inside the main shaft of the drill. For the life of me I can’t see why this was made of two separate pieces of metal instead of just casting the end of the shaft flat. The only idea I could think of is that removing it would allow the drill bit to sit much further down the shaft, creating a depth stop. However this would mean creating a hole in the middle of the rubber diaphragm to allow the drill bit to pass through so I’m not sure it is correct. Answers on a postcard please! In general it is a high quality tool, with very high quality tooling and decent materials used throughout.
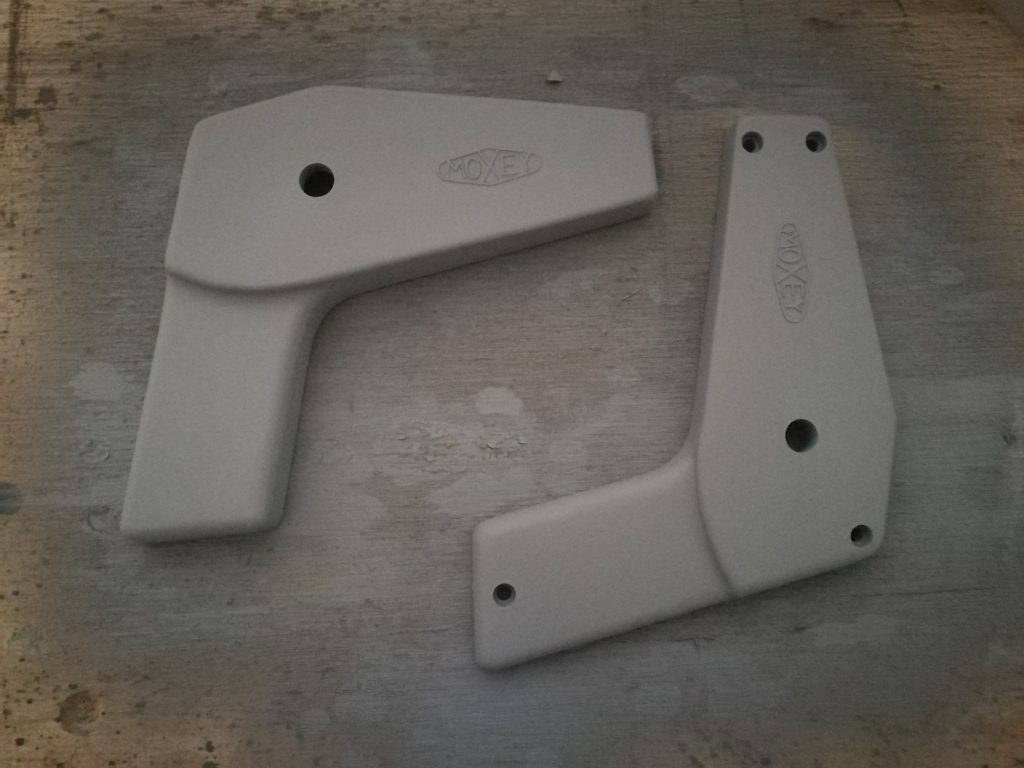
After cleaning the internals and regreasing them to lubricate the moving parts and prevent rust it was time to move onto the body. First of all I stripped the two sides back to bare metal:
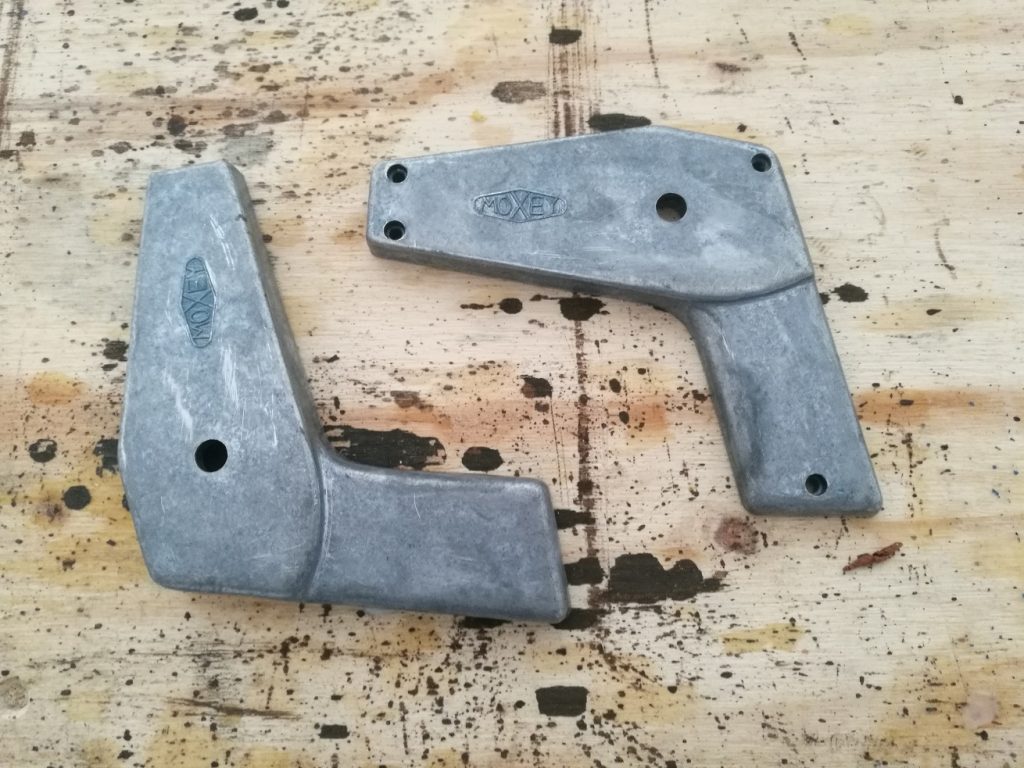
Next I painted them with three very thin layers of undercoat, with generous drying times between each application:
This was followed by four layers of spray enamel. This tool is going into my personal collection and as far as I’m aware isn’t rare or valuable so it got sprayed in BS448 deep bronze green, the colour of all the restored tools in my kit.

The last job was to sand, stain and oil the wooden handle. Once everything was dry I reassembled it. I used a heavy gauge steel rod to replace the broken split pin:
As you can see it turned out really well, and it has earned a permanent place in my workshop as a drill for drilling pilot holes in confined spaces. I normally use a Stanley 803 “egg beater” style drill for drilling pilot holes, but it is a long tool, so this will perfectly fit in those awkward spaces.
All in all I was very satisfied with this project and it came out as well as I had hoped. The only niggle is that I can’t find the history behind it! If you recognise the drill, the brand or have ever used a drill like this please get in touch, I would be grateful for any little bit of information I can get!