I like a challenge, which is exactly what I got when my latest job arrived in the workshop!
It is a Scottish tall case clock made from oak. I’m not sure exactly how old it is but it certainly predated machinery in woodshops so is obviously Victorian or older. I was asked to repair and restore it whilst the clock mechanism was being repaired by a horologist.
Starting from the bottom and working up, I made a list of things that needed to be sorted.
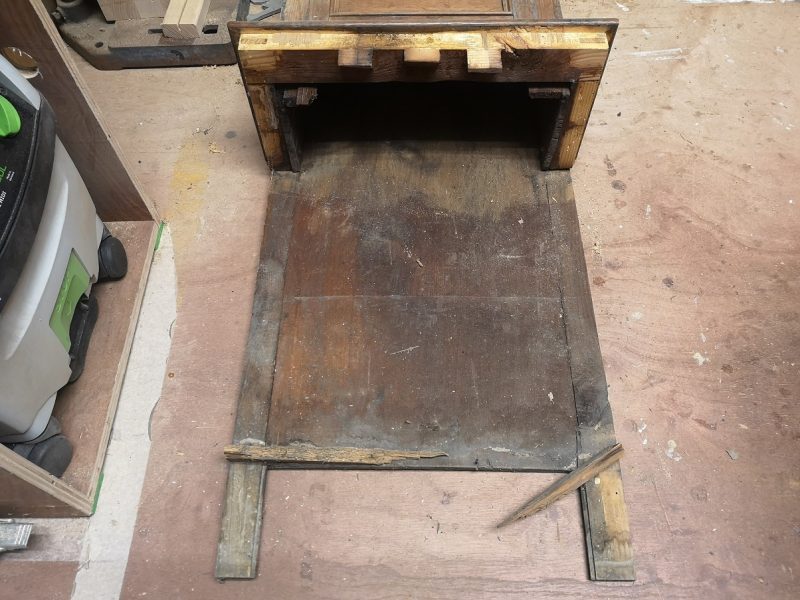
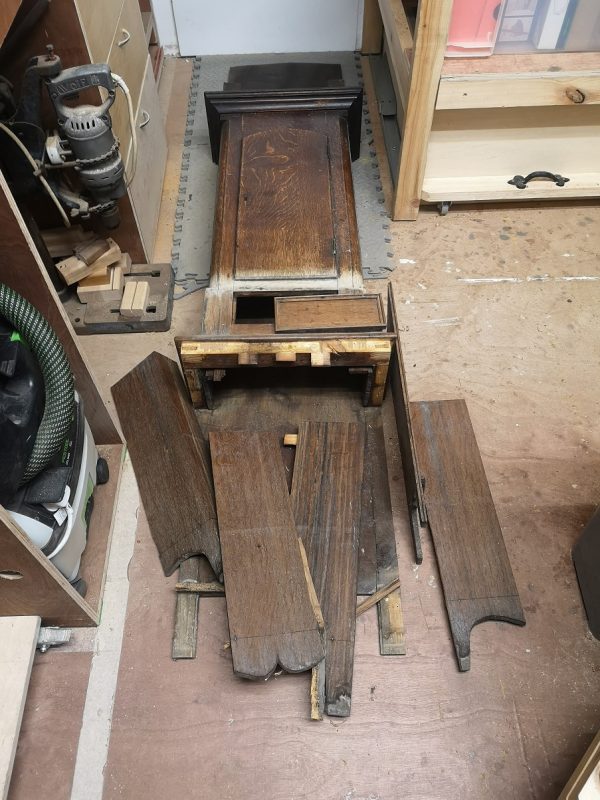
The first issue was obvious, the entire bottom was the case was in several pieces! The photo also showed lots of woodworm damage to the underlying frame, which was historic and didn’t need treating. I would build a new subframe to support the base when I reglued it.
Moving up to the trunk, the reason for the condition of the clock was revealed. The grey line around the body is a tide mark. The clock had been lent to a school by the owner, and it had been stored in a basement which then flooded. The following photos show just how badly the water had affected the timber:
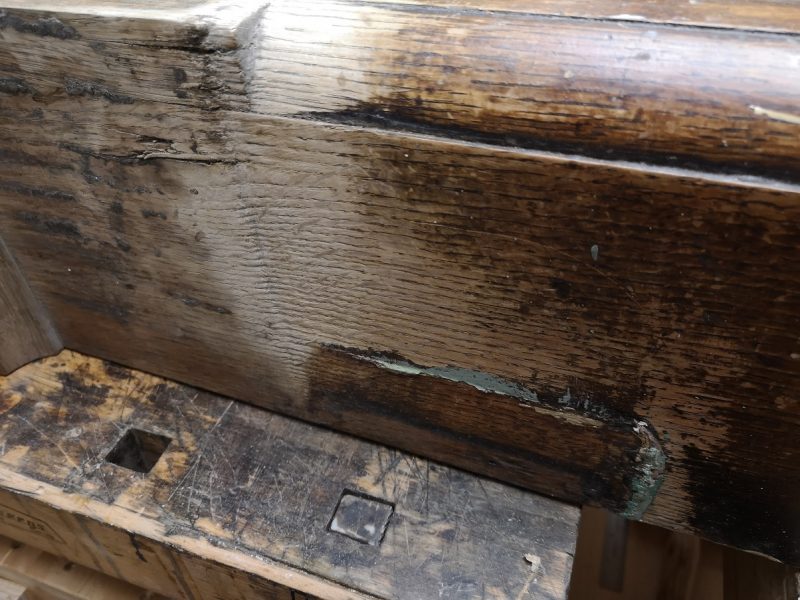
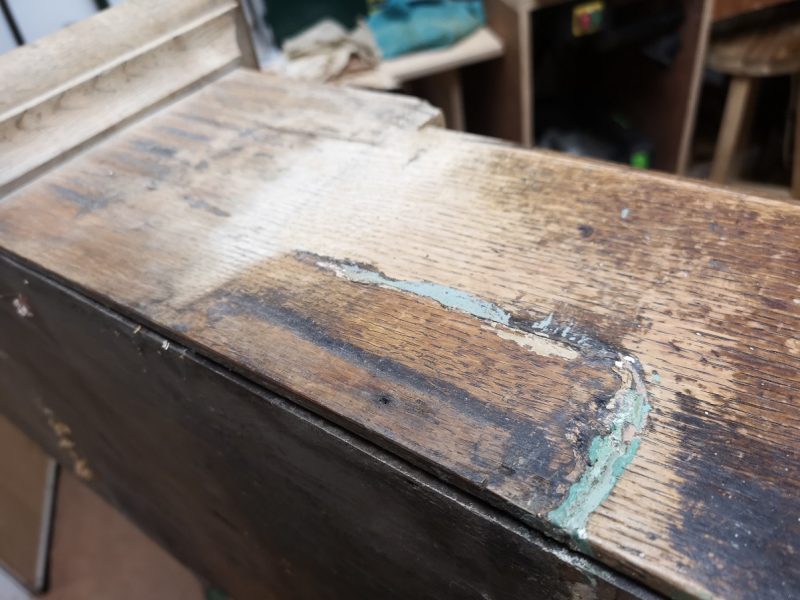
The photos show just how much material had been removed at the water line. I wouldn’t be able to eradicate this much damage without completely replacing large parts of the body, but I could blend it in to the rest of the surrounding body so the eye isn’t drawn straight to it. Also visible is some of the careless paint damage, caused by someone painting the wall and dado rail without masking the clock off to protect it.
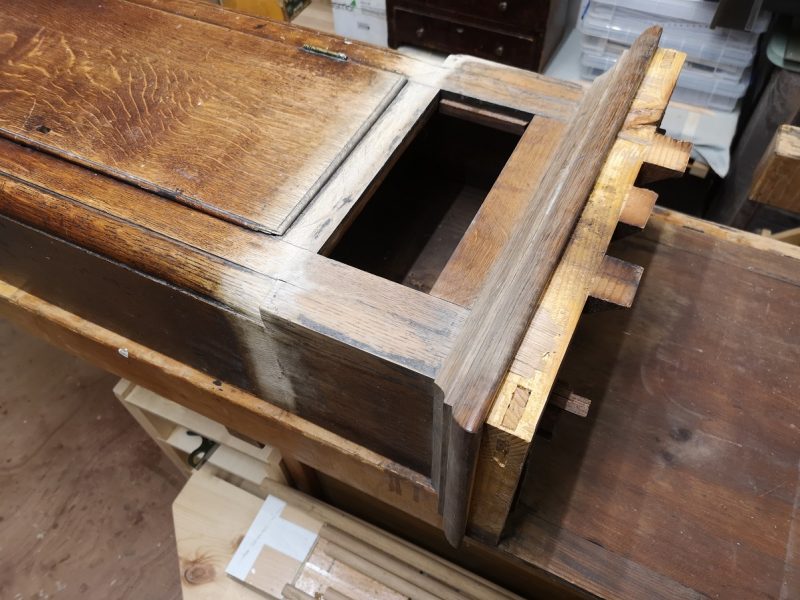
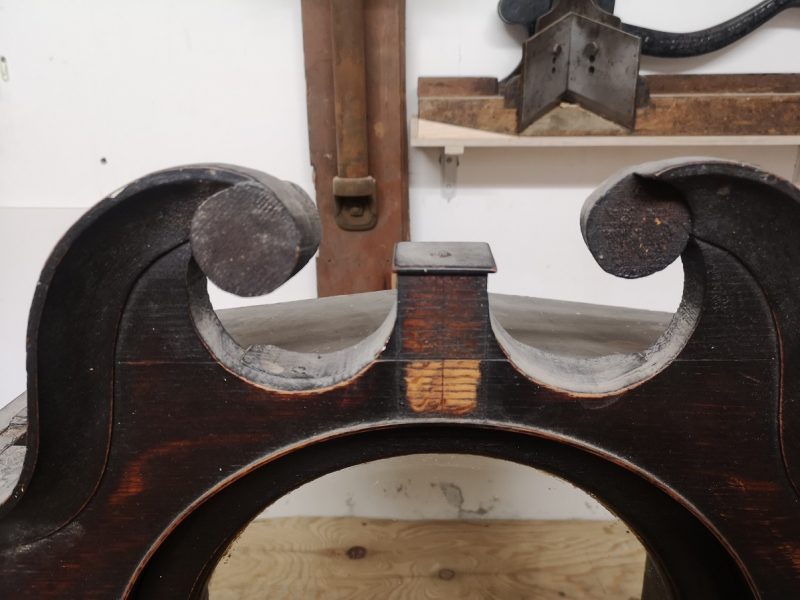
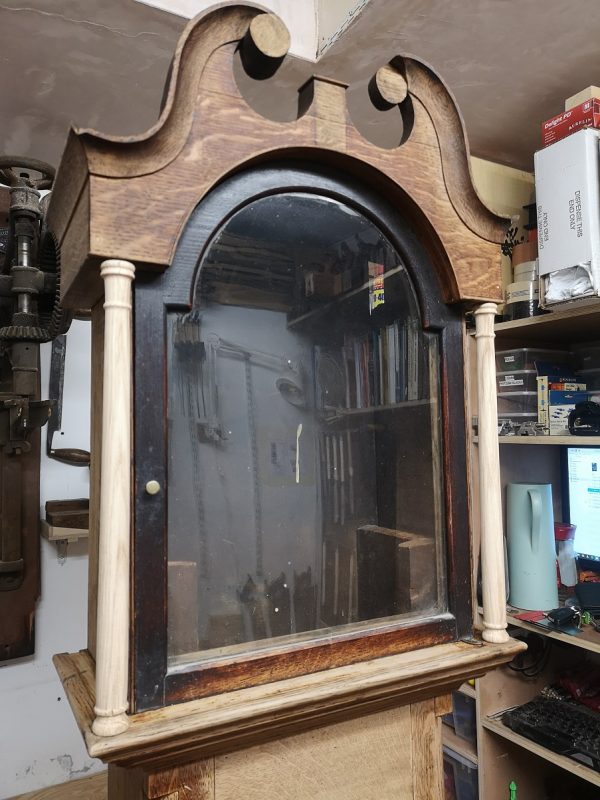
Moving on to the hood revealed different types of damage to the body. Although it had avoided any direct water damage there were several parts missing:
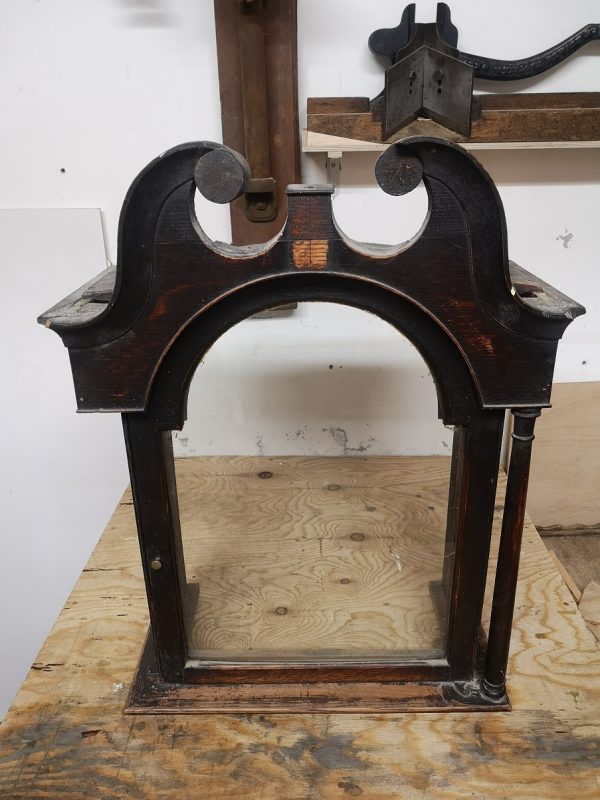
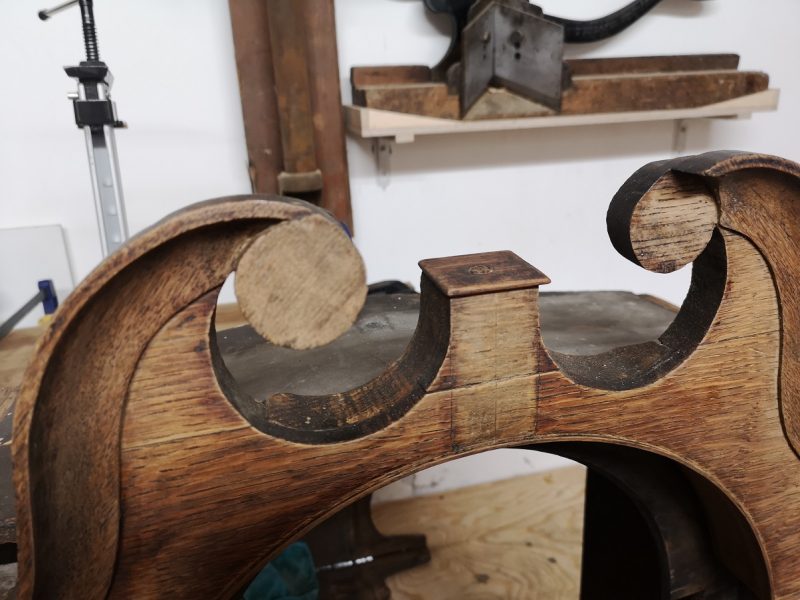
On the front, the finial was missing, as was the decorative inlay beneath it. Just to the right a circular detail is missing:
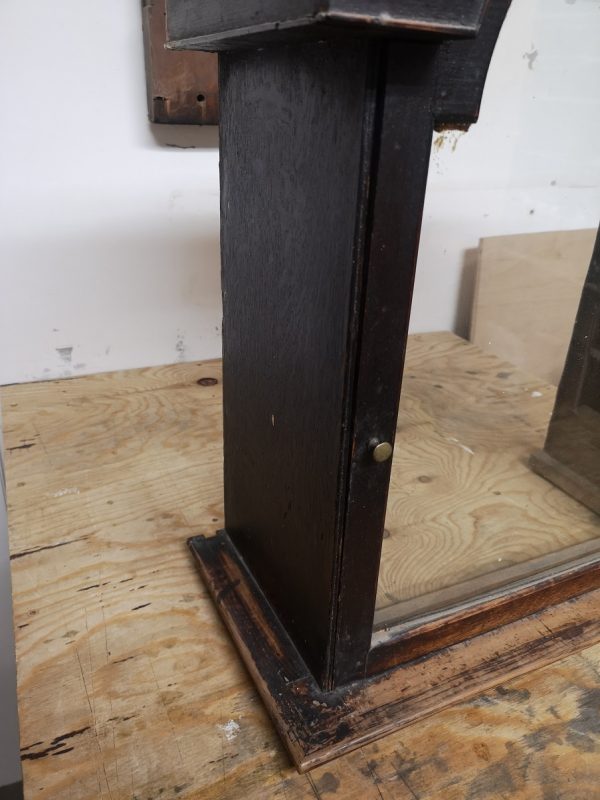
On the left side of the hood the spindle and rear return piece were missing. Also visible in this photo is the generally worn condition of the finish. Fortunately the original glass was still intact and the brass hardware was all present:
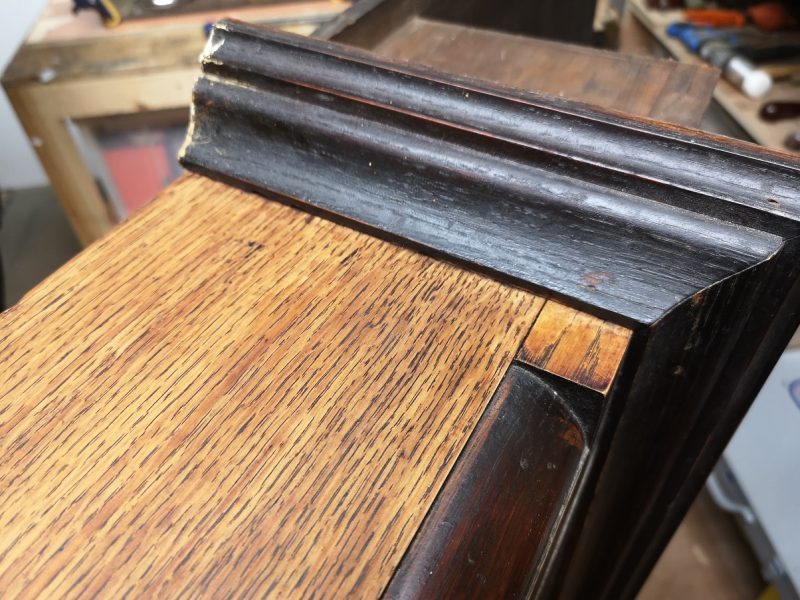
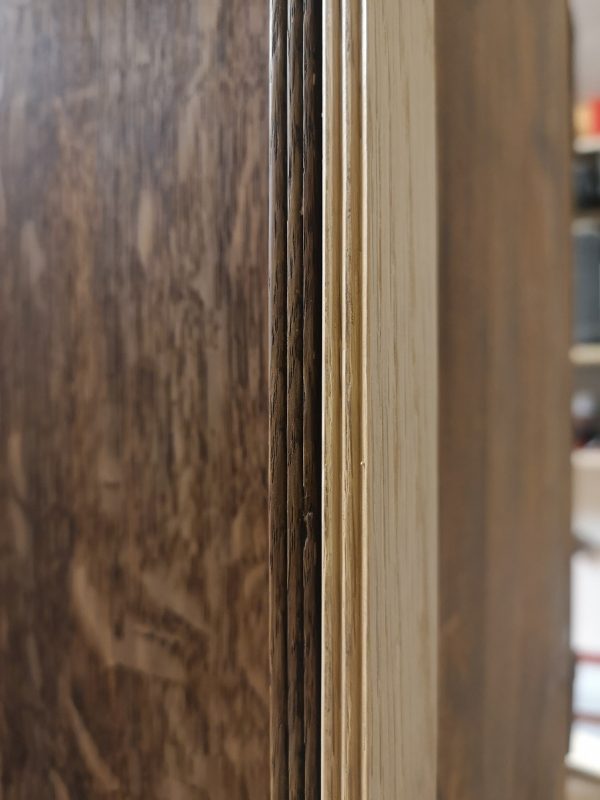
I decided to start by stripping the finish from the entire piece. Even in the areas unaffected by the water damage the lacquer had deteriorated due to age and use. Here is a detail shot of before and after stripping the finish:
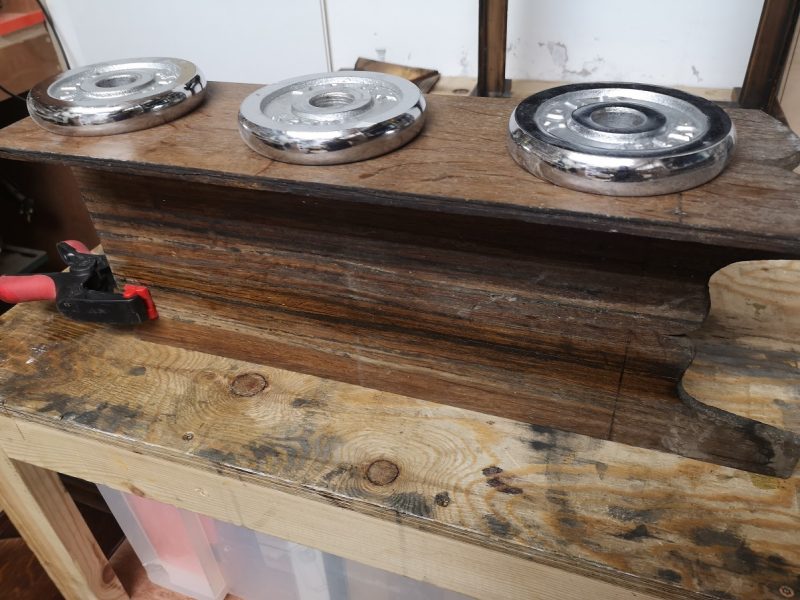
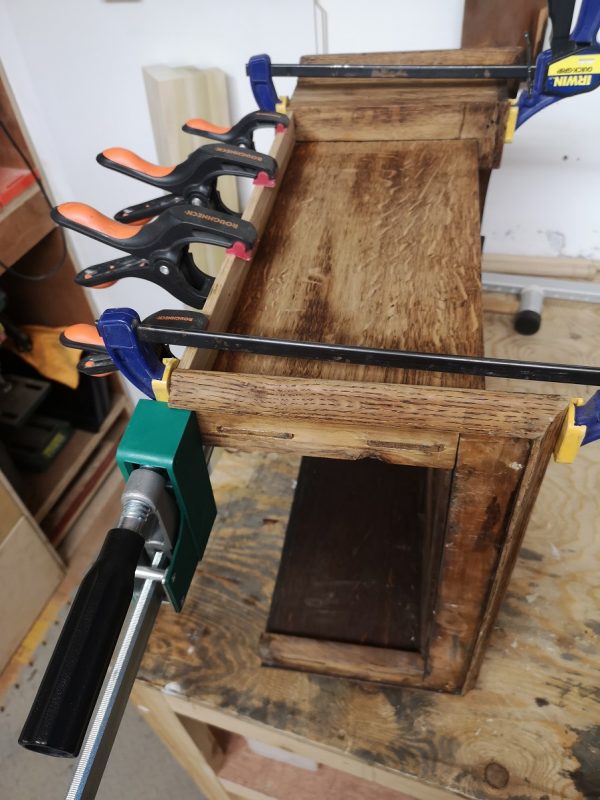
In between stripping the finish I was also working on the repairs. The base had split along the original glue lines because the timber had shrunk over time and the frame hadn’t allowed any movement, so it cracked to relieve pressure. I was able to clean and reglue the panels along the original joints, although a few of them required some imaginative clamping to hold them in position whilst the glue cured:
The only exception to this was one of the corners, which had blown out of its tongue and groove so it couldn’t be repaired. To fix this I glued a strip of oak to the existing board, planed it smooth, cut a new groove using my Record 044 grooving plane and then reglued it. I made sure to make the panel longer than it had previously been to counteract the shrinkage that had taken place.
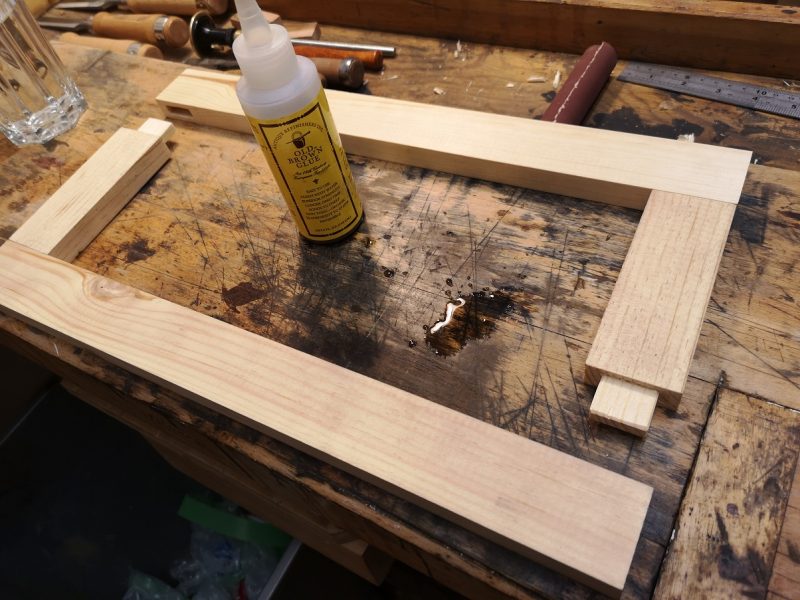
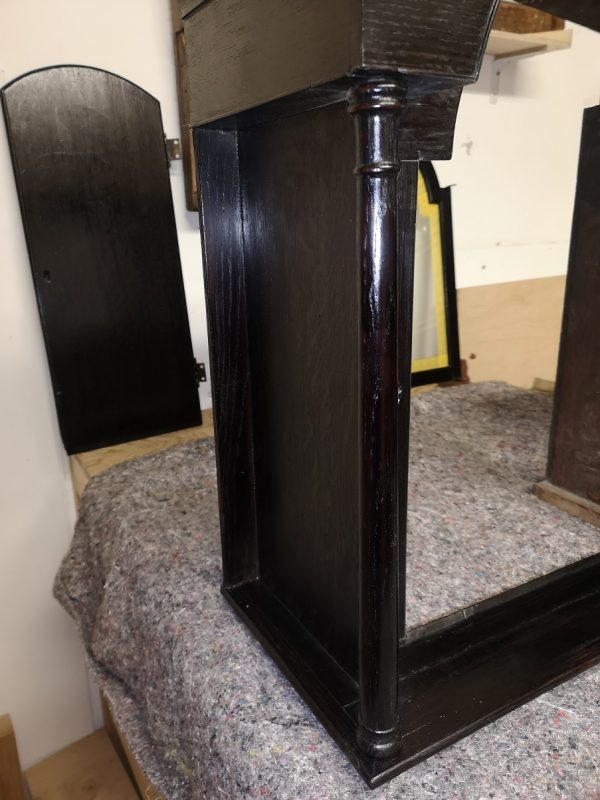
Next I moved on to the support frame. As this is a restoration I set out to use the original materials and techniques from the original clock, so after studying the remaining pieces of the clock I used pine for the frame, connecting it with mortise and tenon joinery (unplugged of course!). I also only used traditional hide glue:
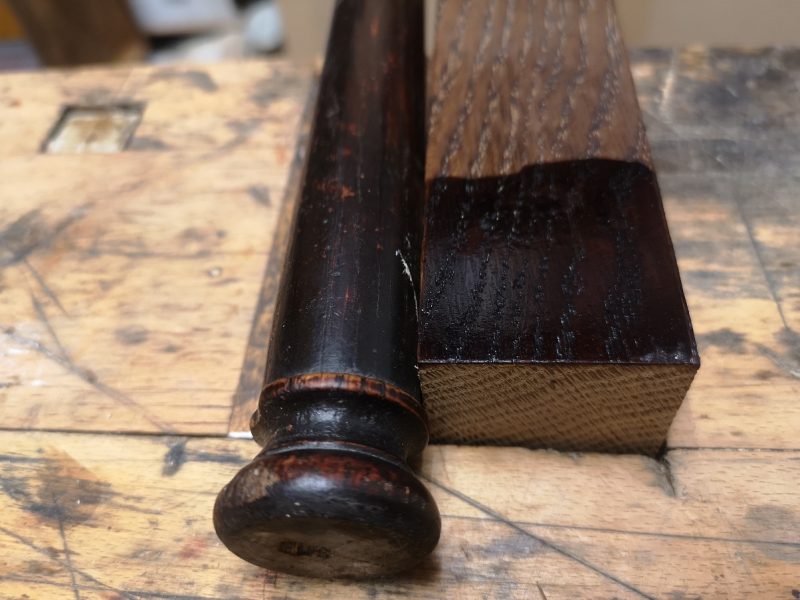
Once I had reattached the base to the trunk and left the glue to set up I started on the hood. The first job was to turn two new spindles to match the existing one. Even though one was present I decided to replace both of them as the original was so badly damaged it would have failed sooner rather than later:
Next I made the return. The original had a beading pattern of the edge, so I replicated this using my Stanley 66 beading plane to match the profile:
I then cut dovetails in the ends so I could reattach it, and glued in it to place:
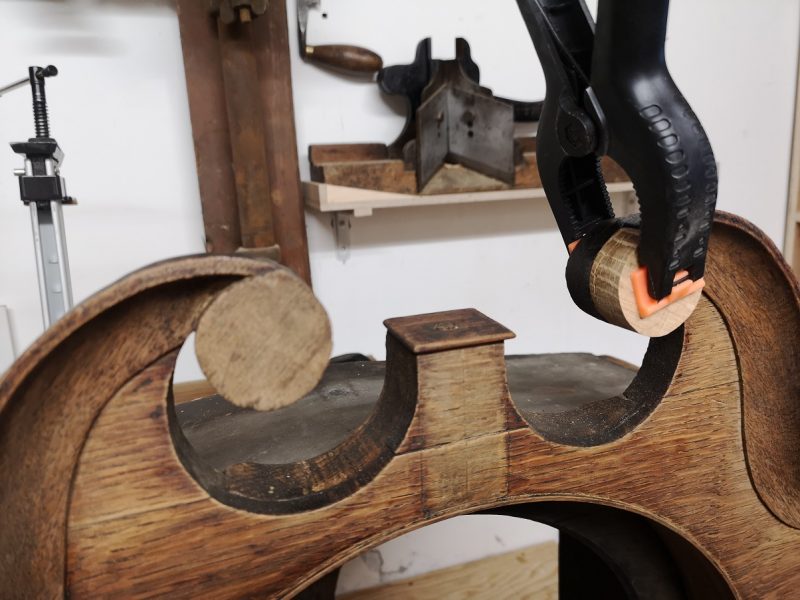
Next I replaced the circular detail missing on the front. This was done by tracing the shape of the original and cutting it to shape and attaching it with hide glue:
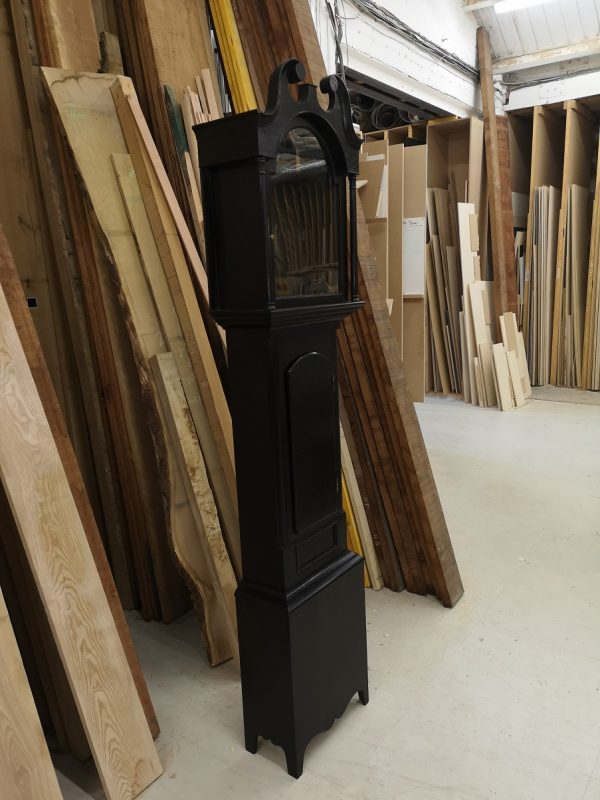
The original finial and inlay would not be replaced as the client didn’t have any idea what pattern was there originally, so after going over the entire clock and repairing or improving any remaining smaller defects I could call the repair stage done.
Next came the experimentation. Using dyes, lacquers and waxes I set out to match the original colour and finish of the clock. After a bit of playing around with different techniques I settled on a finish I was happy with:
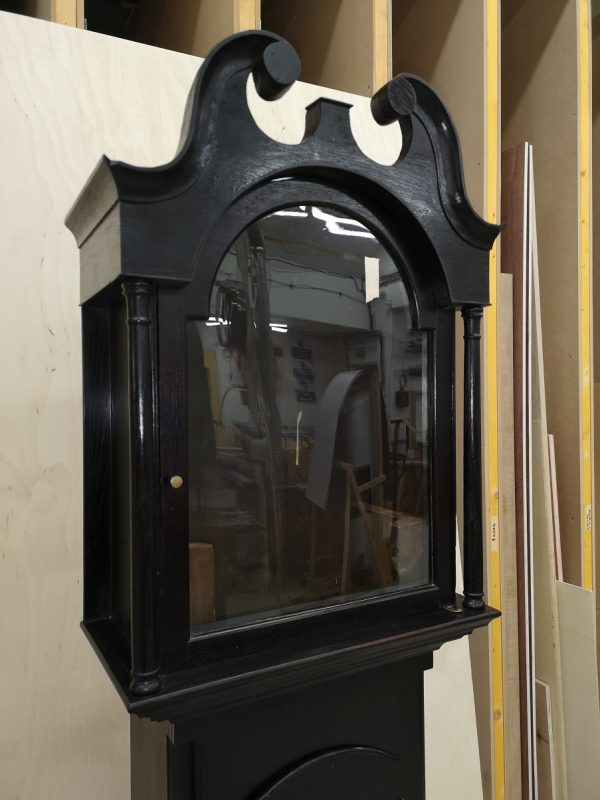
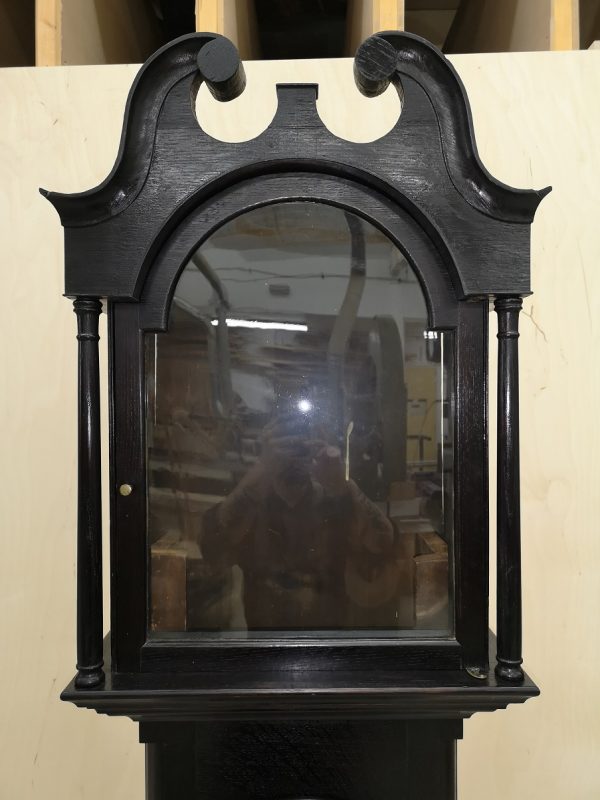
I tested it on the hood, and I was very happy with the result. Just as in the original the ebony finish showed hints of deep red and the piece shimmered with subtly different colours in different lights. A traditional beeswax polish applied over the lacquer topcoat meant the piece felt wonderful to the touch, and you can’t tell the difference between the original timbers and the pieces I’ve fitted as part of the repair:
So after finishing the entire case I was left with an incredible transformation:
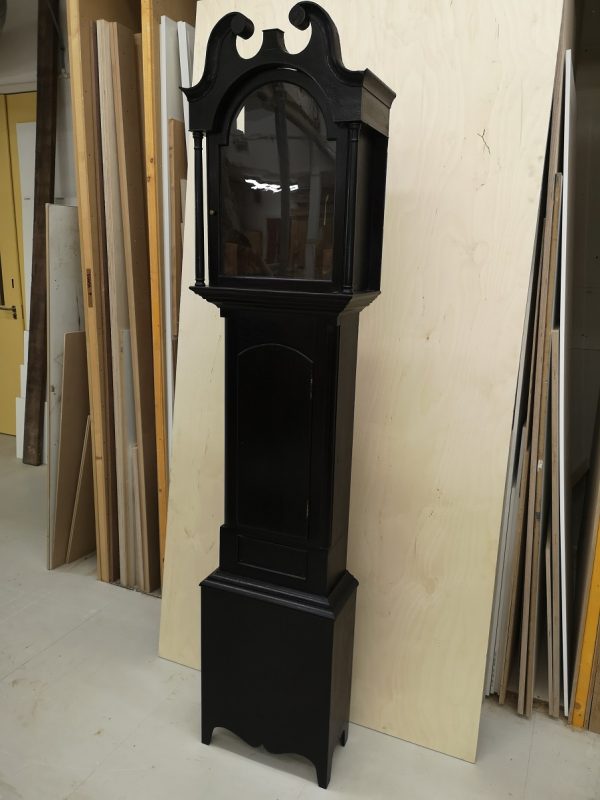
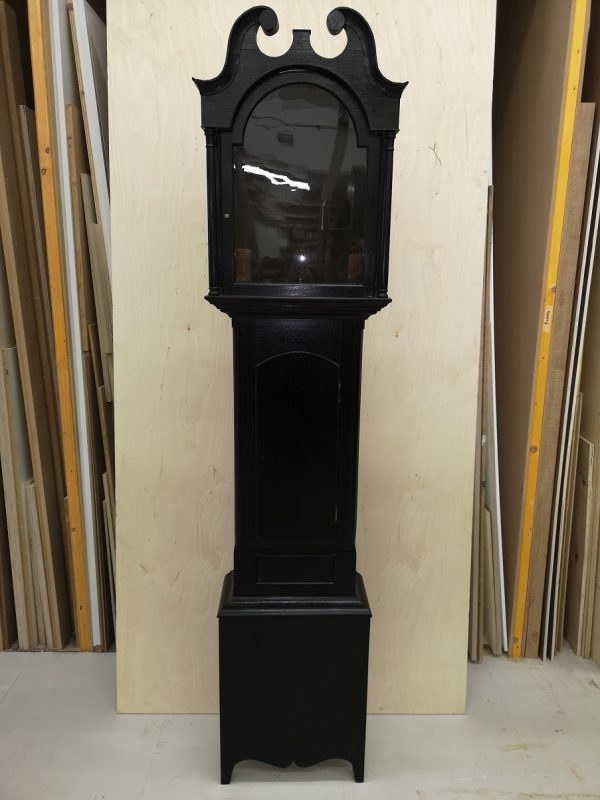
It’s hard to believe it is the same clock! The owner was as delighted as I was with the end result. As with any restoration the aim isn’t to get a piece of furniture that look like new, but to sympathetically repair so the piece may be saved for future generations in as close to original condition as possible. This clock wears its dents and dings with pride, and is ready to go to work for another two centuries!